
Darkroom Printing Workshop
Switch on the red light. Watch your photo appear on paper. Keep it forever.
In This Workshop
-
Setting Up
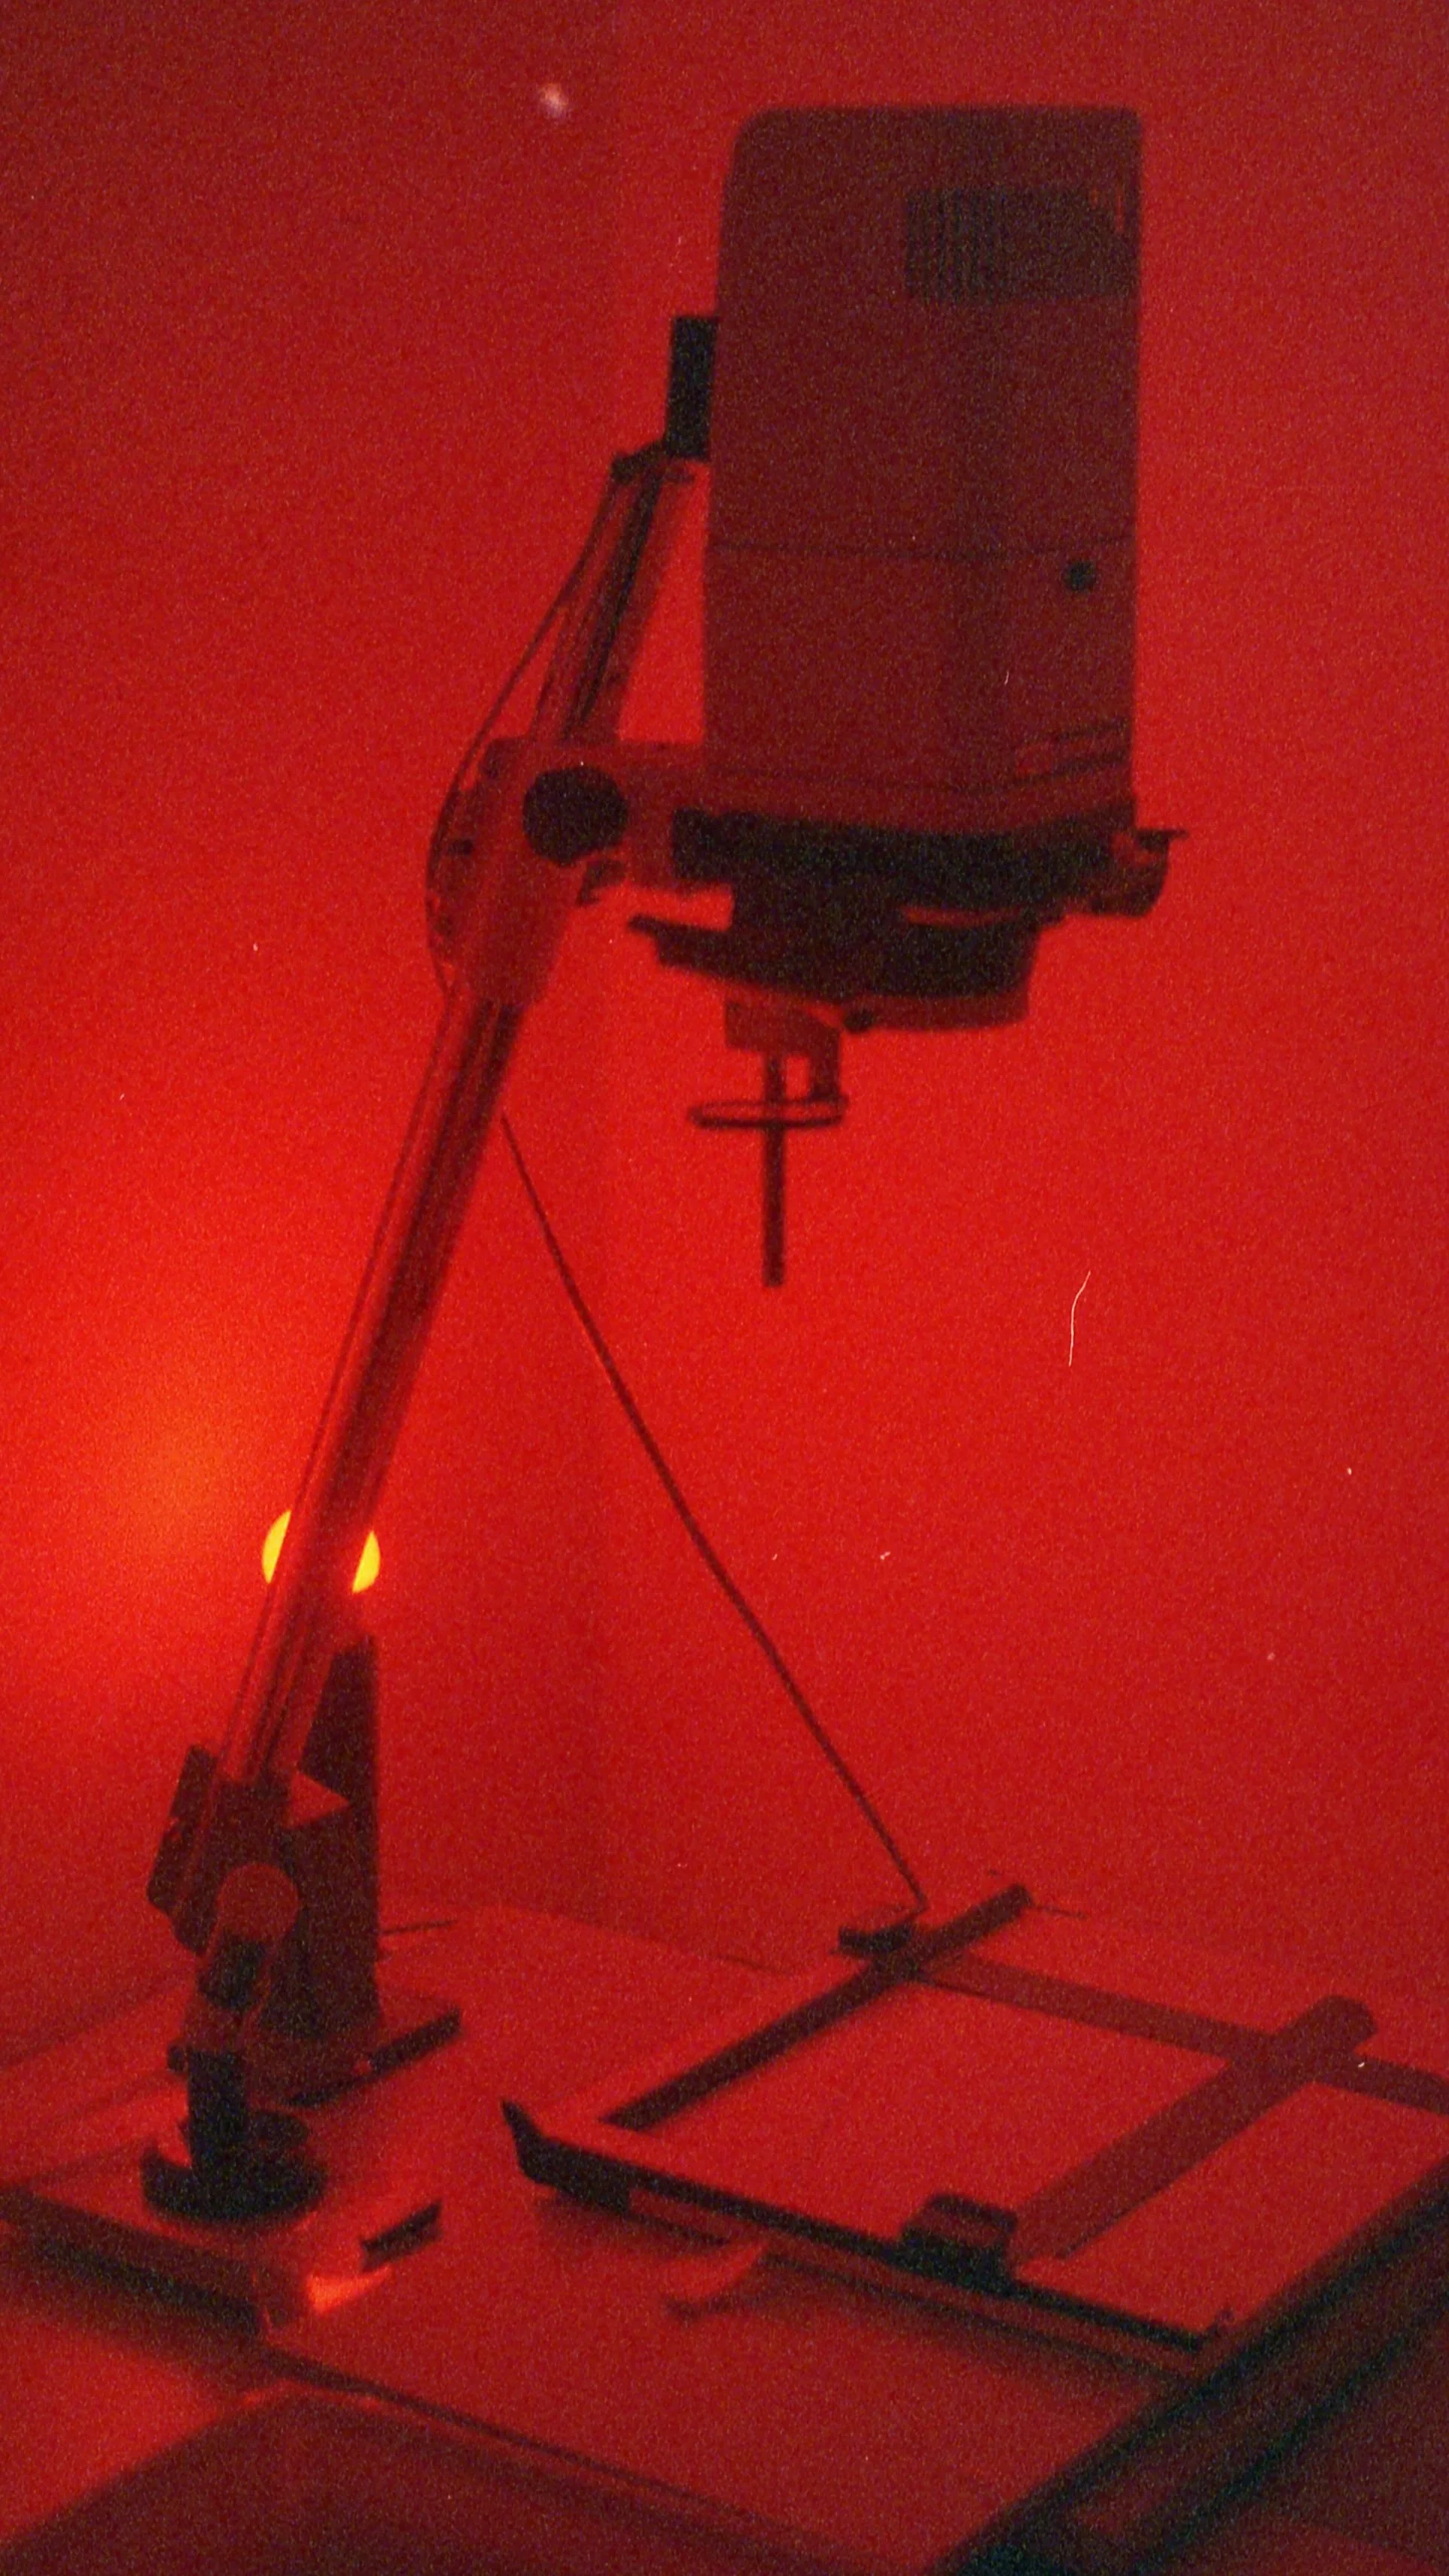
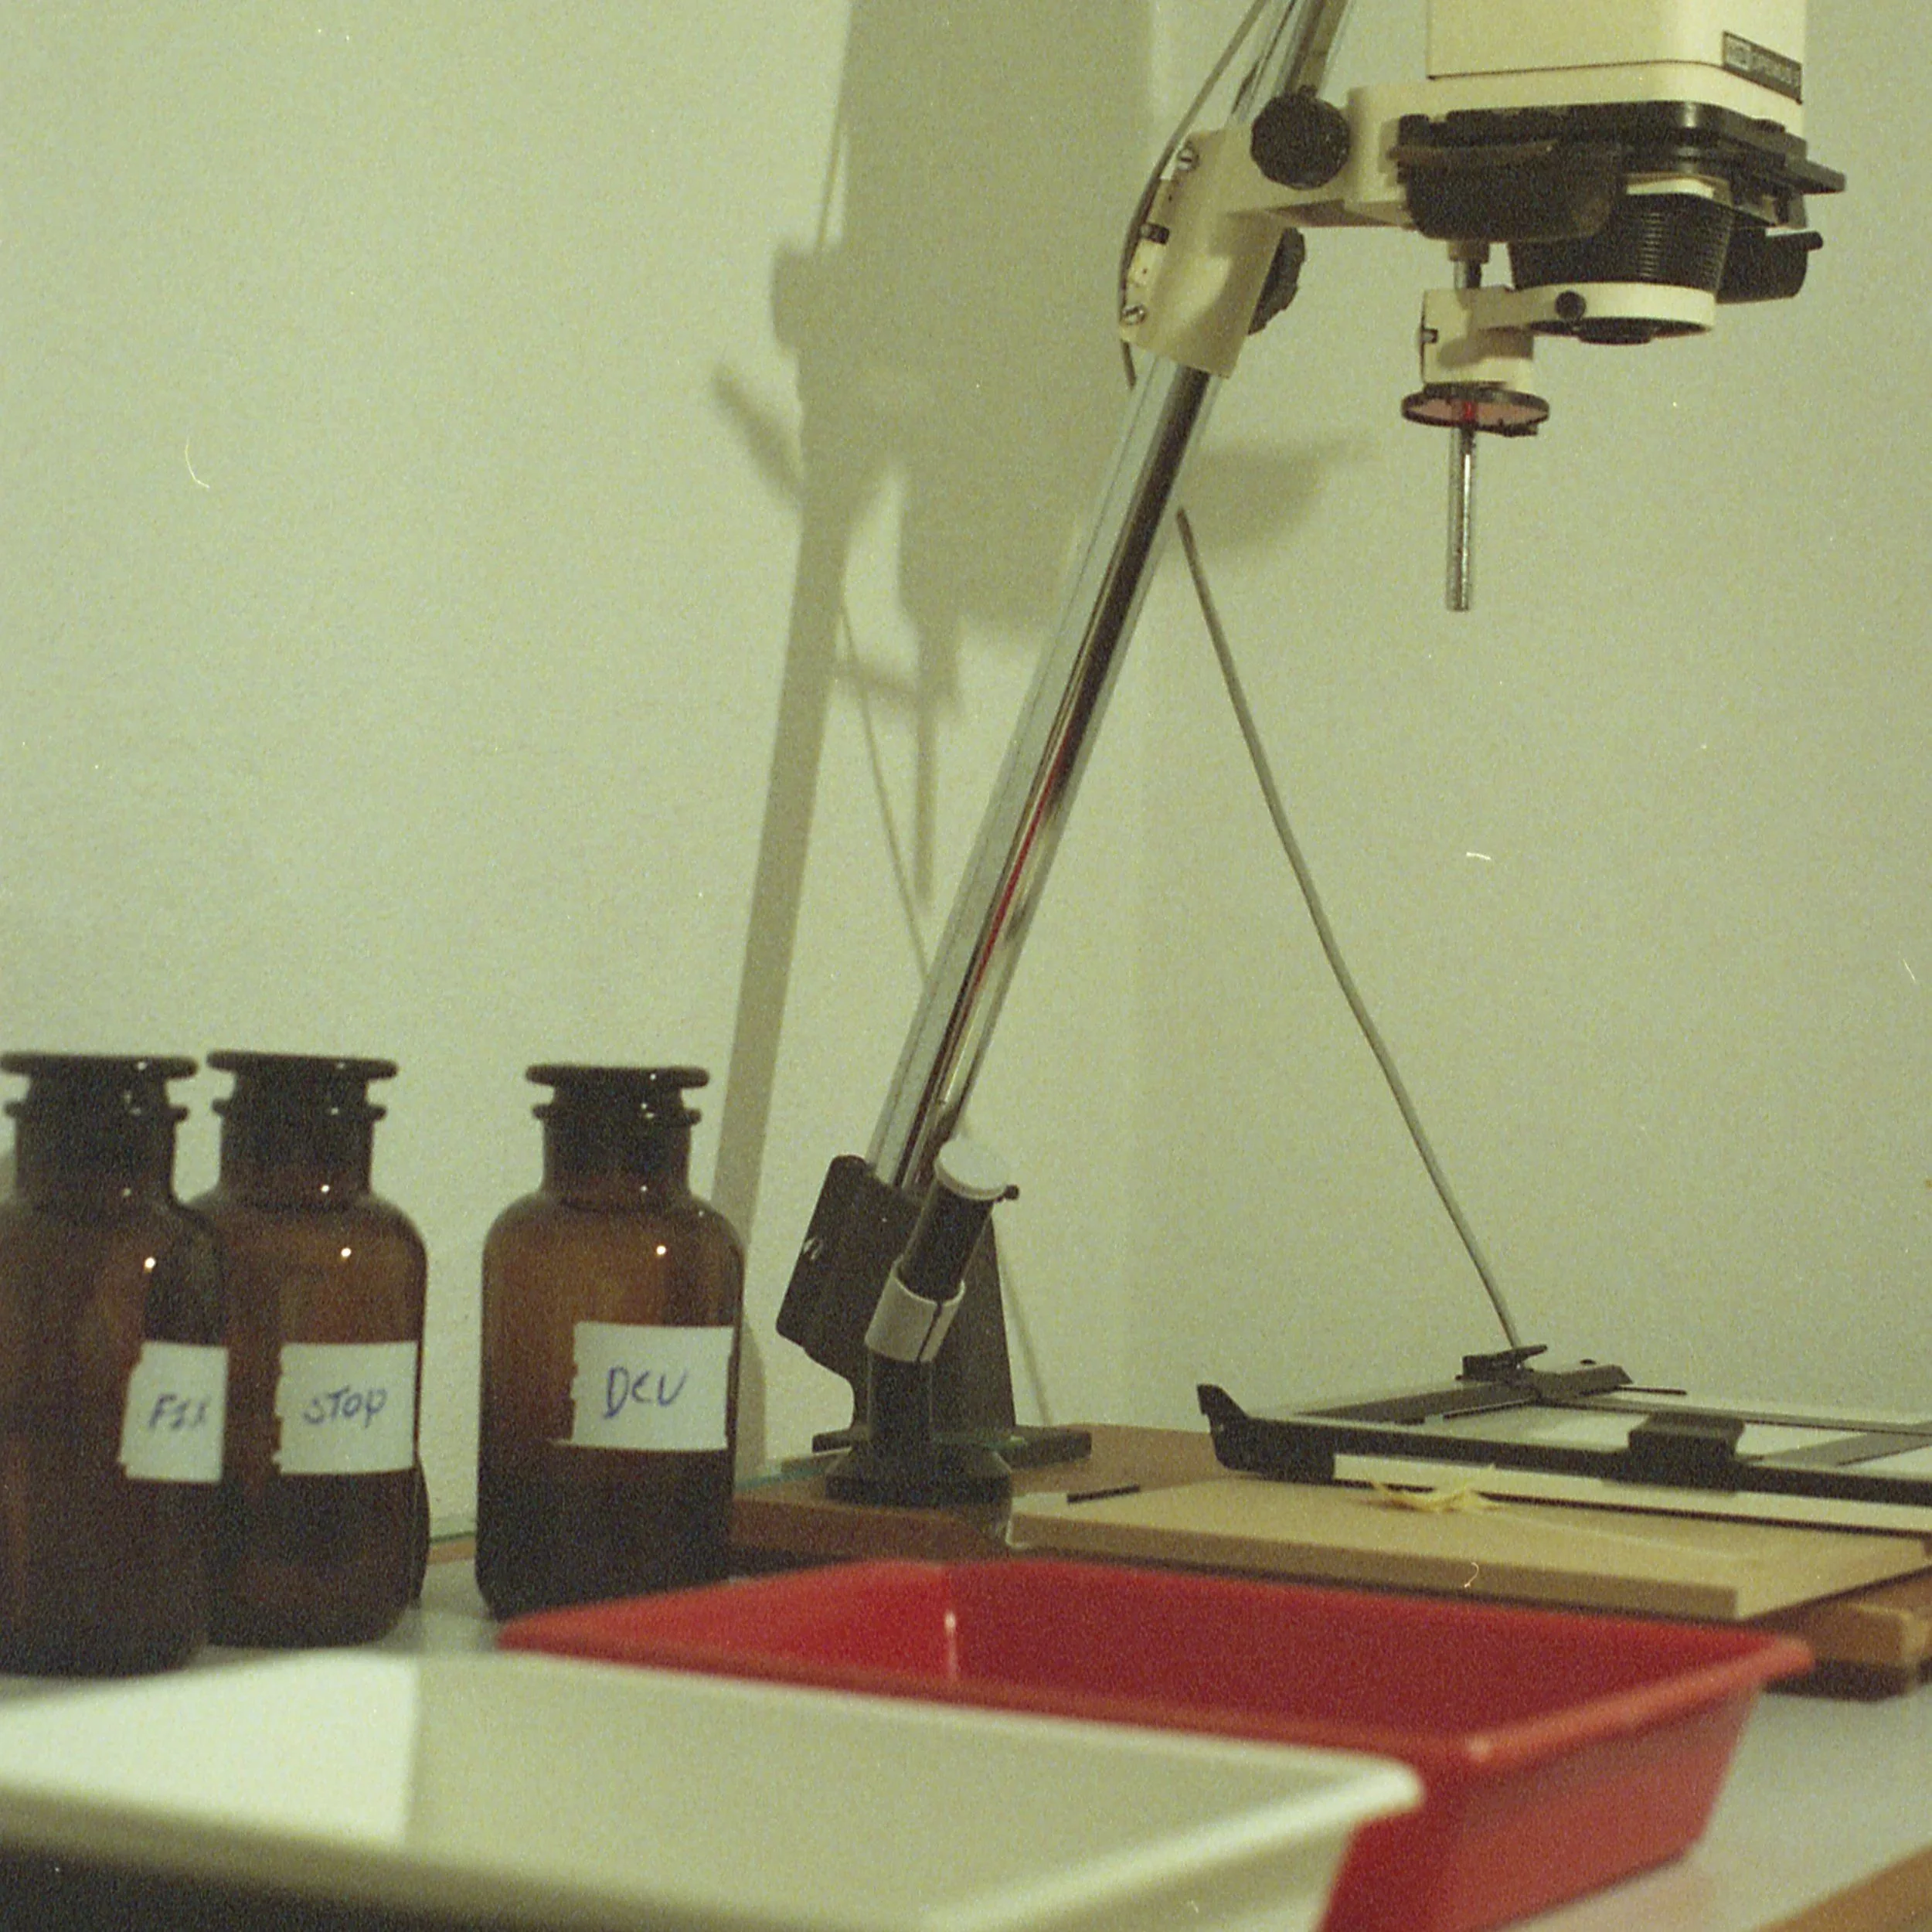
We begin by walking through the equipment used in the darkroom, discuss the anatomy of a good negative, and go over the logic of light on paper. This is where we prepare the chemistry and set the stage, ensuring you understand the variables of the printing process before we switch on the red light.
-
Magic in Action
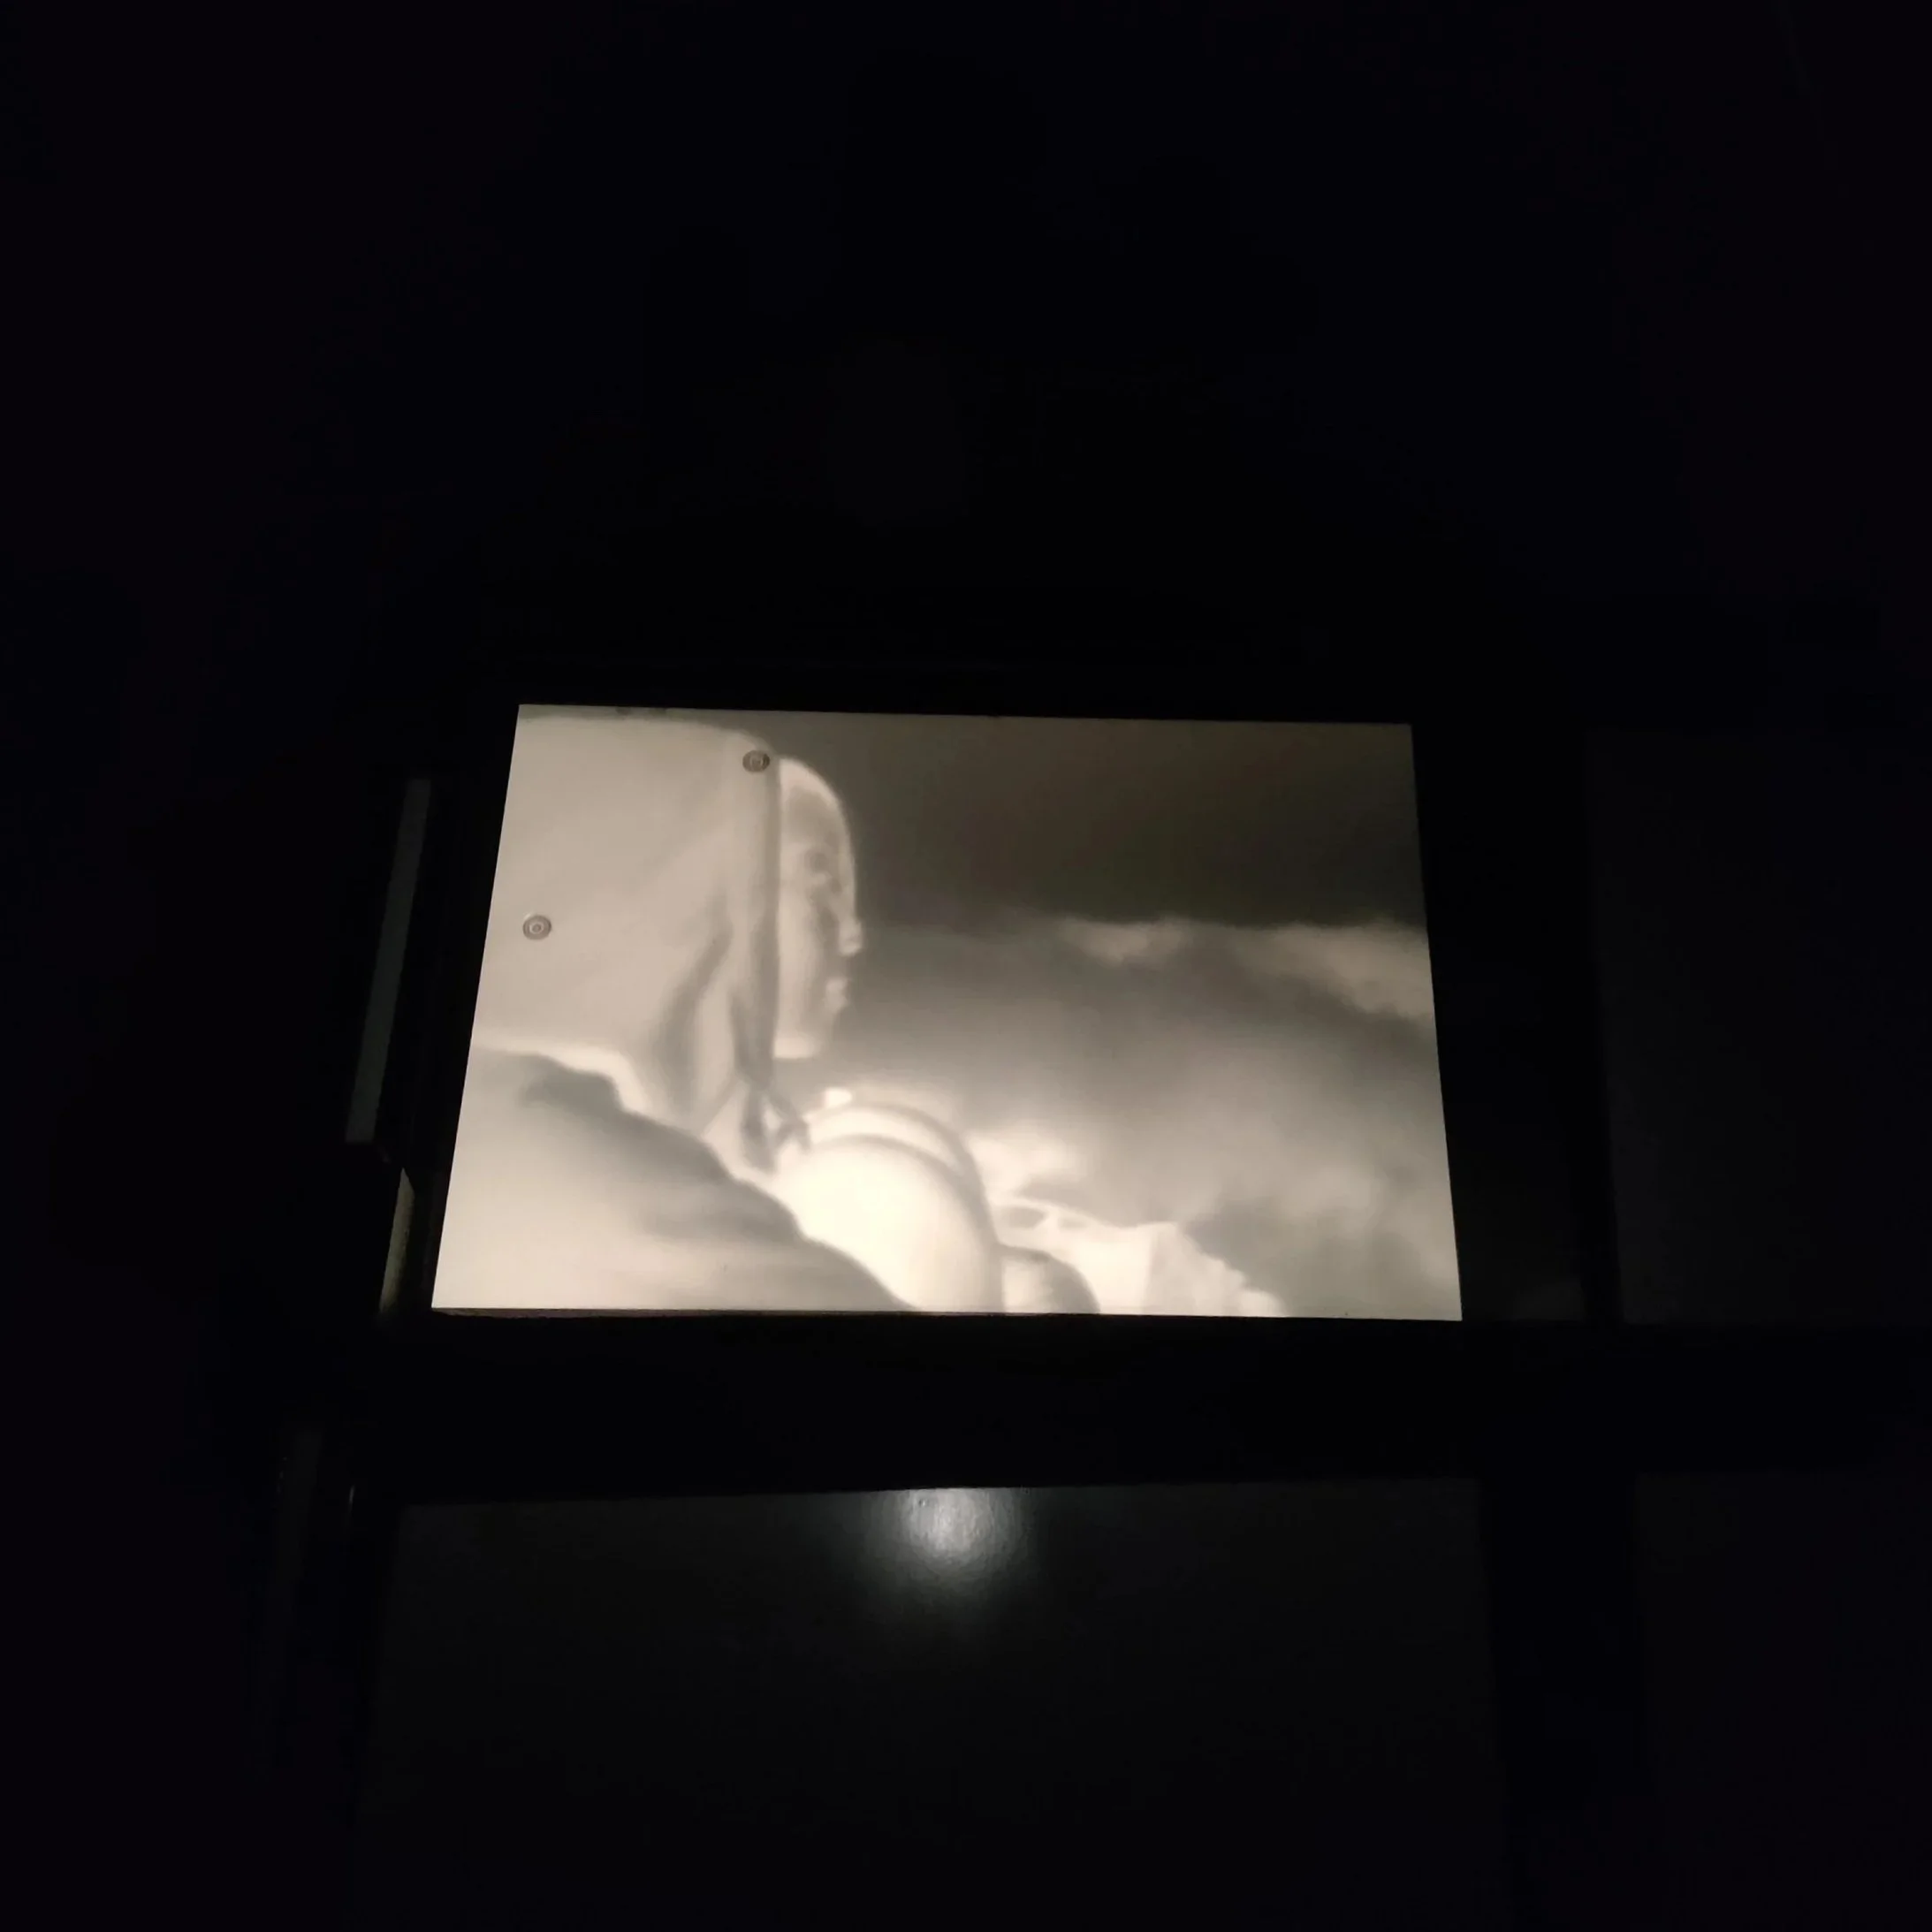
After selecting your favorite negative, you’ll be guided to compose and prepare your image for exposure. Then, the dance of light and chemistry begins where you see your photo materialize on the paper right before your very eyes.
-
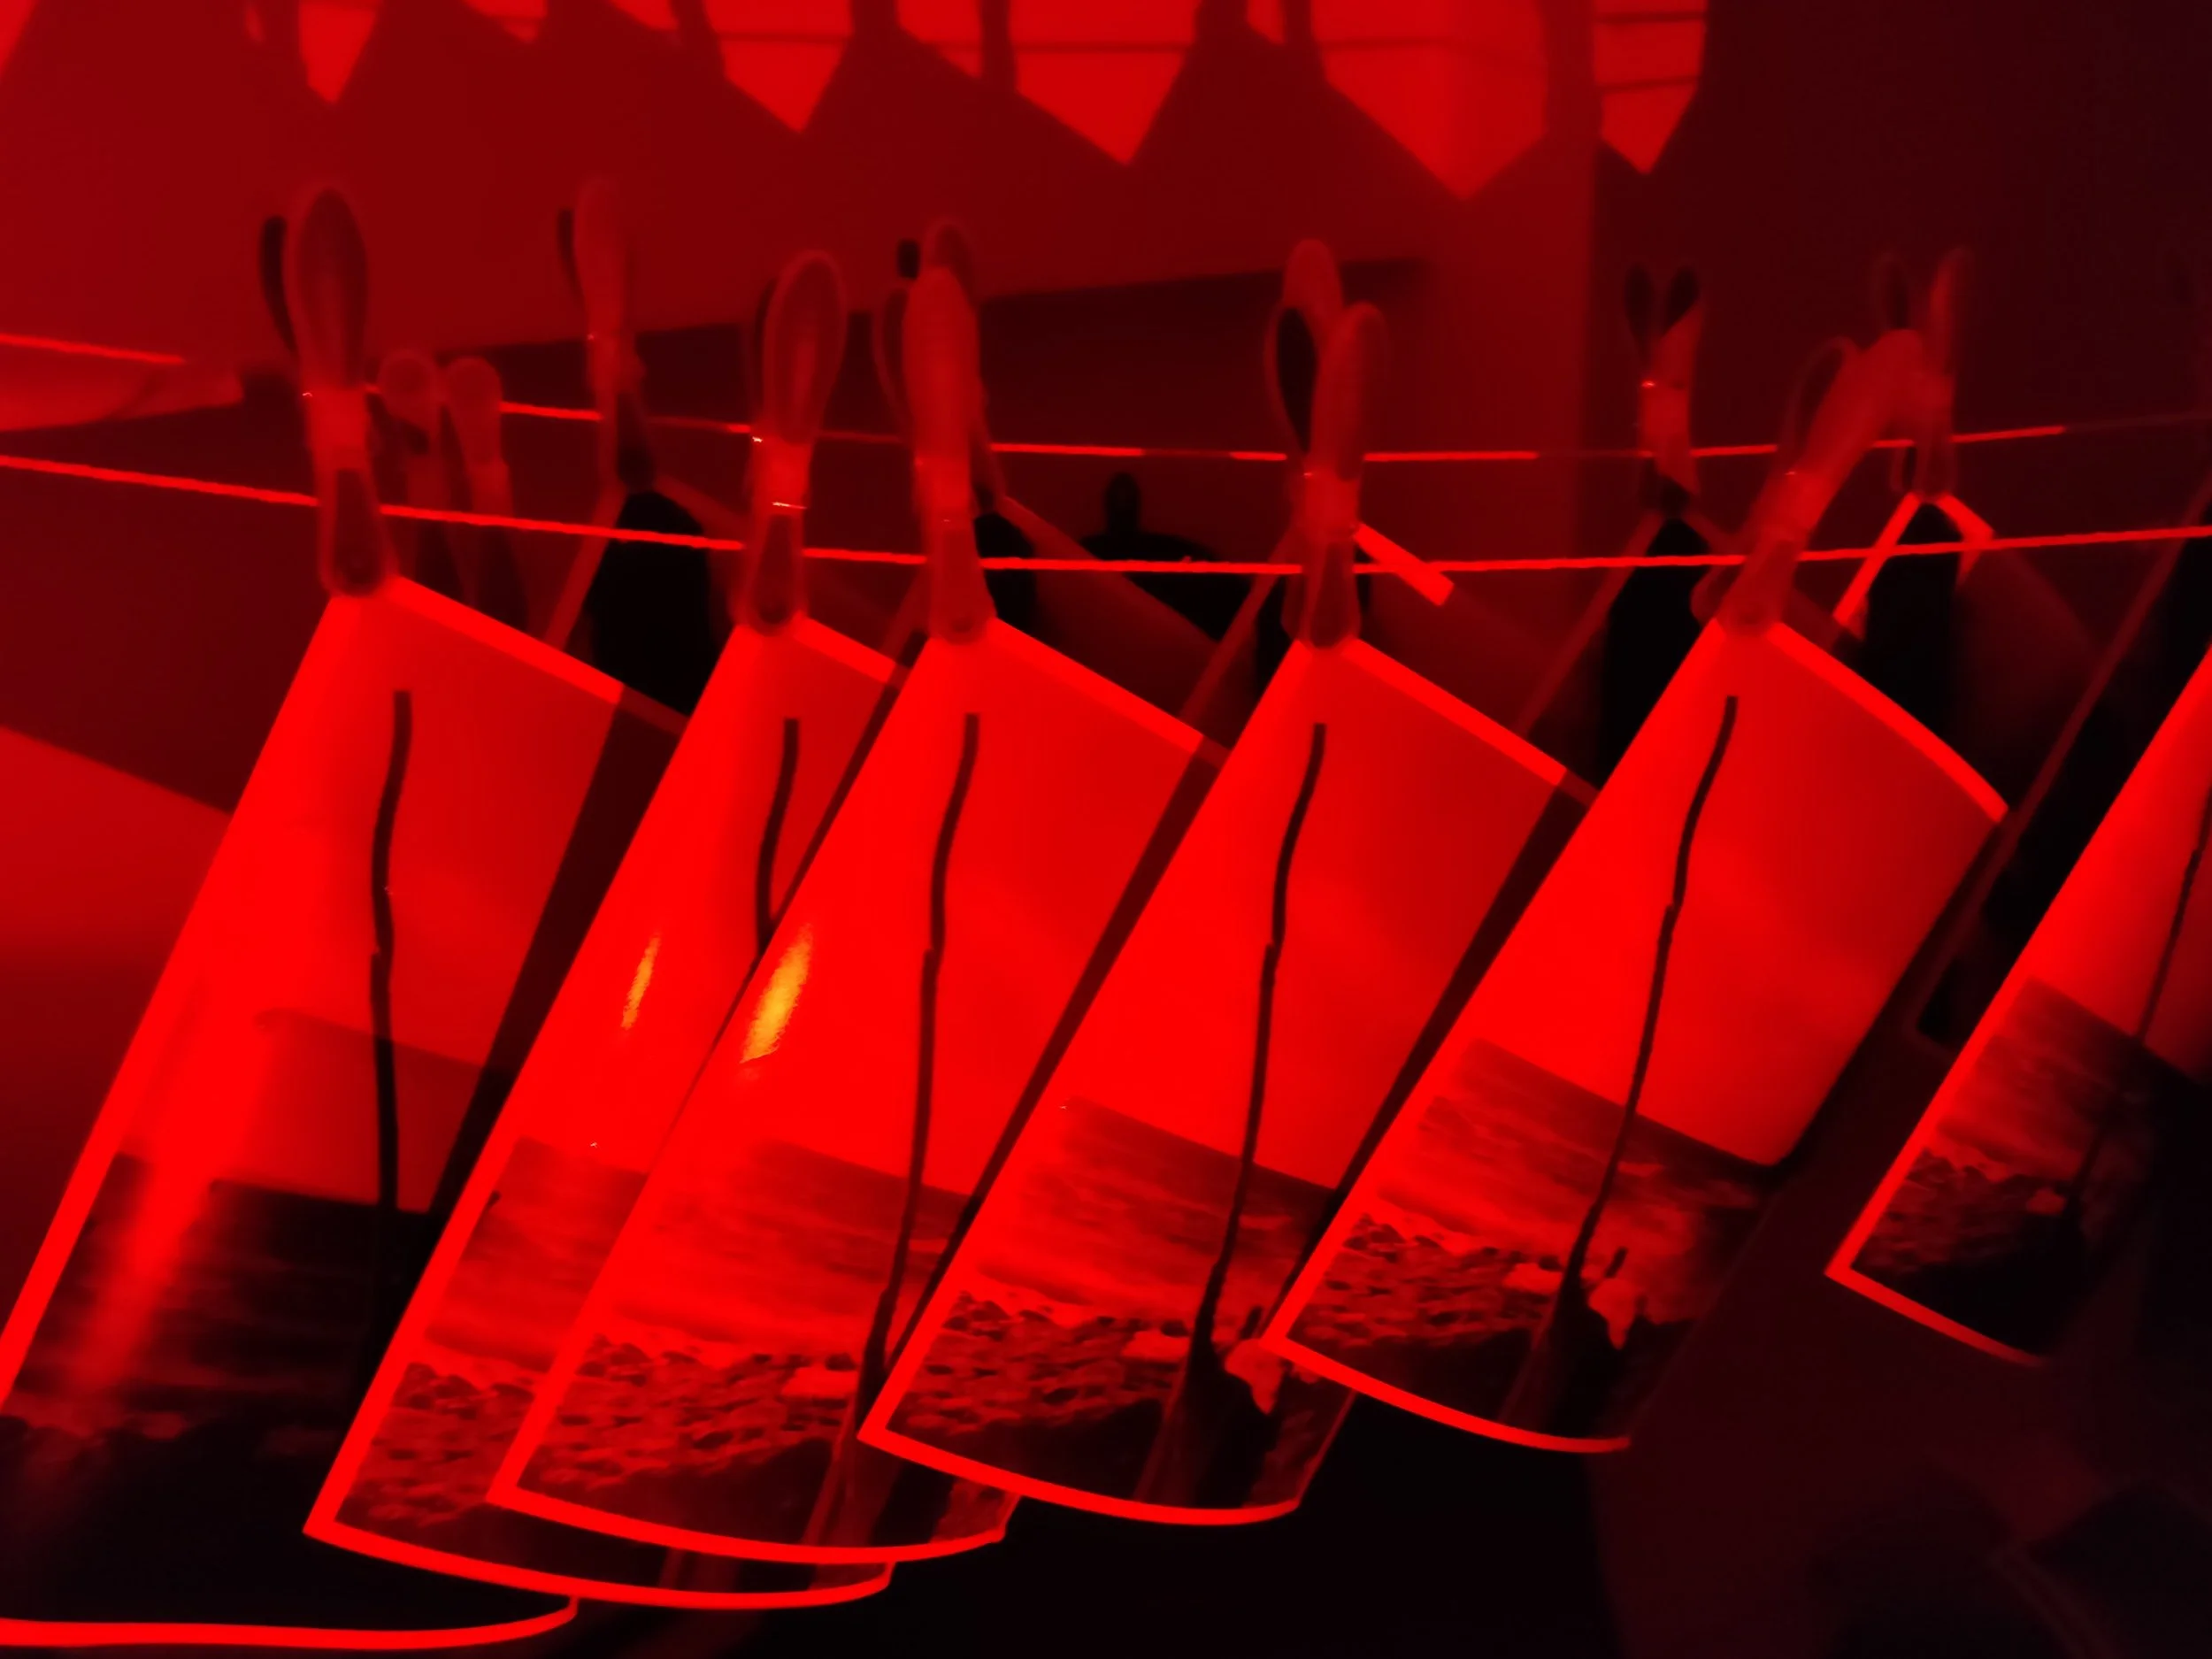
Images You Can Touch
The session ends at the drying rack. Your prints won’t go home with you that day - they need time. But they’ll find their way to you: something physical you can hold, frame, or stick on a wall. Made by your hands, from a negative you shot.
What You’ll Learn
-
The Equipment
You’ll gain an understanding of what tools you’ll be using, their purpose, and how they impact the images you print, a great starting point to setup your own darkroom at home!
-
The Chemistry
The science behind printing, what each chemical does, and how to “read” their effects on the end result.
-
Printing Technique
From "test strips" to the final print. We’ll cover the essential manual techniques of exposing paper, determining timing by eye, and the basics of "dodging and burning"—using your hands to shape the light as it hits the paper.
What’s Included?
Materials: 5 Sheets of Photographic paper + All Chemicals
Gear: Use of lab equipment + Aprons + Latex Gloves
Your prints: 1 Test Strip + 4 Prints (Pick-up next day, or mailed to you)
Extras: Printing Checklist + Printing Guide (PDF)
Details
Schedule: Tue, Thu, Sat, at 10:00
Duration: 2.5 hours
Location: São Lourenço
Skill Level: All levels (no experience required)
Group Size: Small and intimate (max 2 people)
What to bring: Developed B&W 35mm negatives, Comfortable clothes
Available Dates & Booking
Secure your spot below. Select a date to view availability and complete your booking.
FAQs
-
To ensure the longevity and quality of the prints, they need to slowly dry overnight, essential to maintain a clean and unblemished result.
You can collect your prints the next day or we can arrange to have them mailed to you if you’re out of town. -
Tongs are used for most of the chemical process to avoid touching the baths, but it is a hands-on environment and splashes do happen. Aprons will be provided but we recommend bringing comfortable clothes that you don’t mind getting a little “salty”.
-
All skill levels are welcome, we’ll cover the basics for first timers, but also have equipment for more experienced guests.
-
For the best experience, it is recommended to bring your own B&W negatives (35mm). If you don’t have any, there is a selection of negatives available that you can use to learn the process.
-
The dimensions for your prints are 17,8x24 cm (7x9,45 INCH) using resin coated matte variable contrast photo paper.
-
If you need to cancel, please let us know 3 days in advance for a full refund. Inside that 3-day window, bookings are final, but fully transferable to a friend.